

Skulls. What spooky Halloween décor or staging of Hamlet is complete without a skull or two popping up? For ghoulish special effect and/or setting a dramatic scene, skulls are absolutely integral. Well, with some artistry, hardware supplies, and a good dose of patience, you can create your own inexpensive prop skulls for use however you please.
To make DIY prop skulls at home, you'll need two main items: a skull mold and "messy, sticky, and impossible to remove once it cures" expanding foam. We first took a look at this process with the help of YouTuber drkreepy1 a few years back, who warned us not to pop the mold too soon. (We'll try!) Today, we'll be following along with fellow YouTuber Build It With Bigfoot, who offers a few additional tips for curing the foam as well as removing the sometimes stubborn skulls once the wait is over.
Materials & Tools to Make a Prop Skull
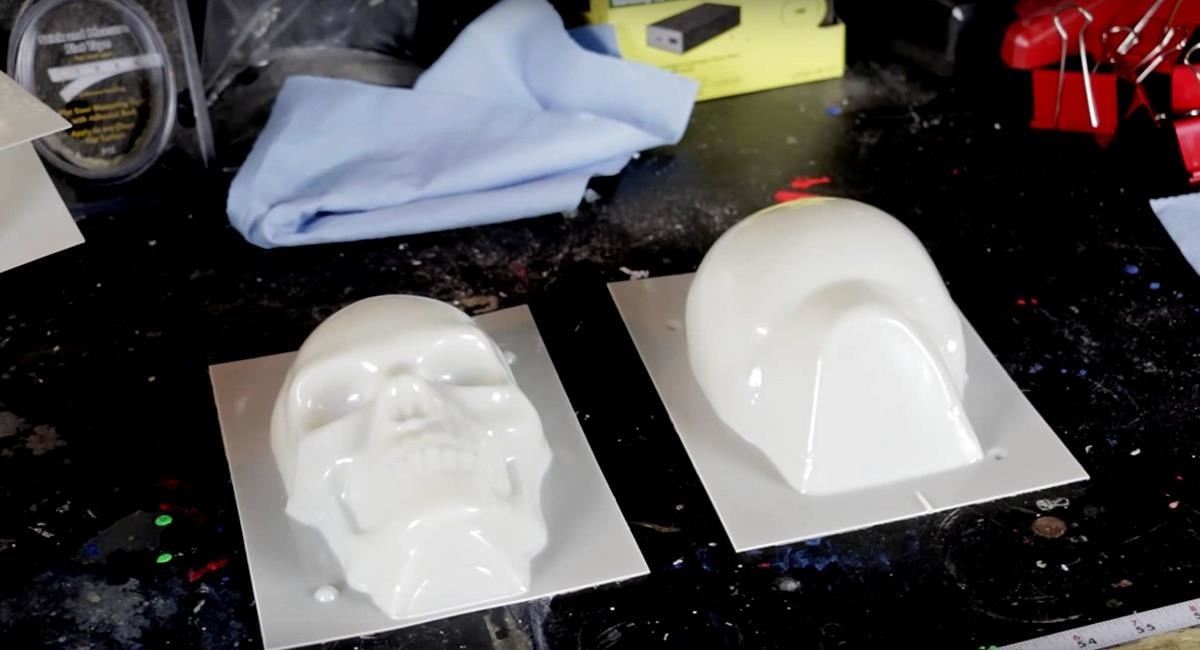
For the mold, you can use a standard candle skull mold, which can easily be found online or from your local arts and crafts store, especially in the autumn time close to All Hallows' Eve. Another option is to cut a hollow plastic skull in half (using a handsaw).
In addition to your mold and foam, the project's other supplies can be obtained from the internet, a hardware store, or discount retailer. You may even already have some of these items in your kitchen, bathroom, or garage. Take a look around:
- skull candle mold(s)
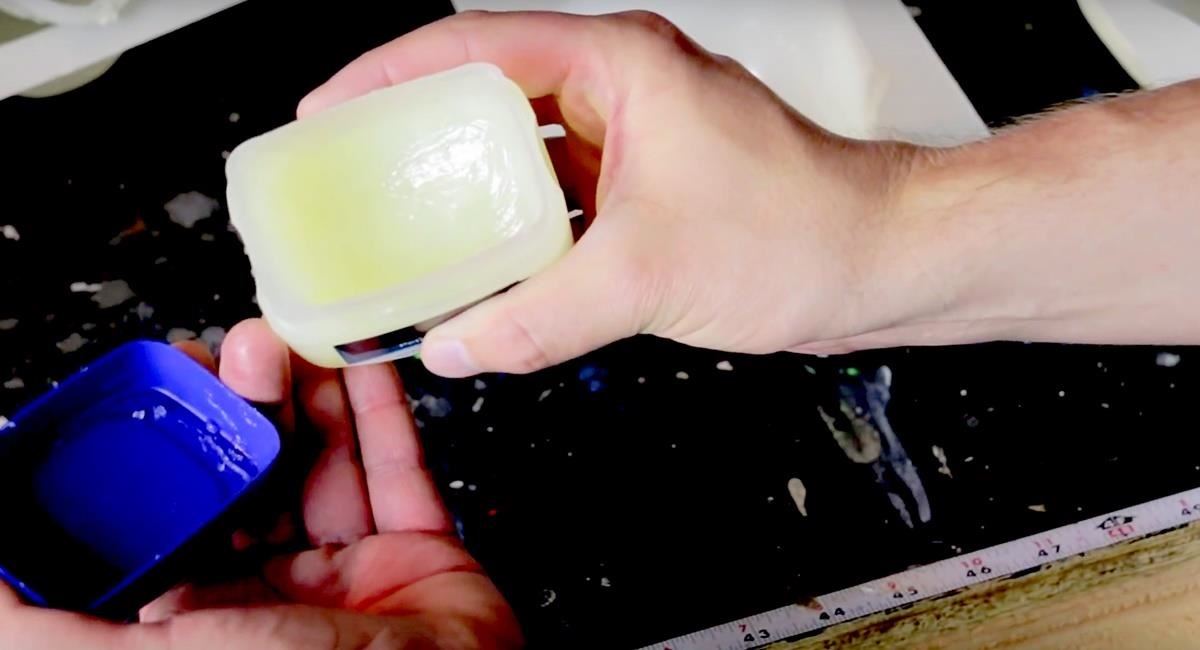
- petroleum jelly
- large binder clips
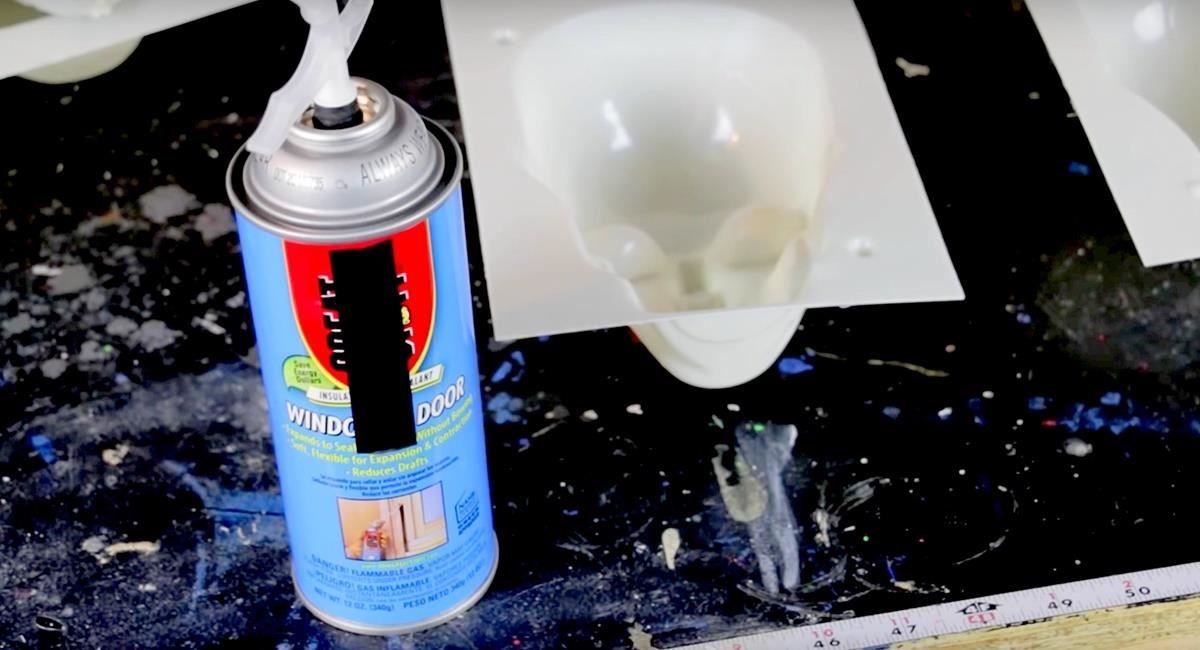
- can(s) of insulating foam
- latex paint
- sanding sponge
- metal putty scraper
- respirator mask
- safety glasses
- nitrile disposable gloves
- paint brushes
- paper towels
- handsaw (optional)
Note: When working with tools and chemicals (like those found in insulating spray foam), be sure to follow all safety protocols and use proper safety equipment.
Step 1: Prepare Your Skull Mold
Lubricate the inside of the skull mold with pretroleum jelly. As Build It With Bigfoot notes, "experience has taught us that this step is the single most important part of creating a foam skull using spray foam." Indeed, this step will determine how easily your skull can be removed from the mold. Don't miss the details of the skull mold; make sure every nook and cranny is totally covered with the jelly.
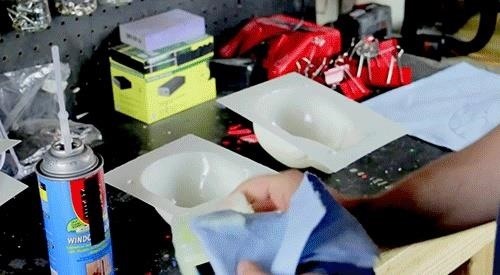
Step 2: Cut Some Paper Towel Strips
Next, cut a paper towel into small strips and then dampen them with water. These strips should not be soaked (to the point of falling apart), just damp. Set these strips aside for the next step: adding the foam.
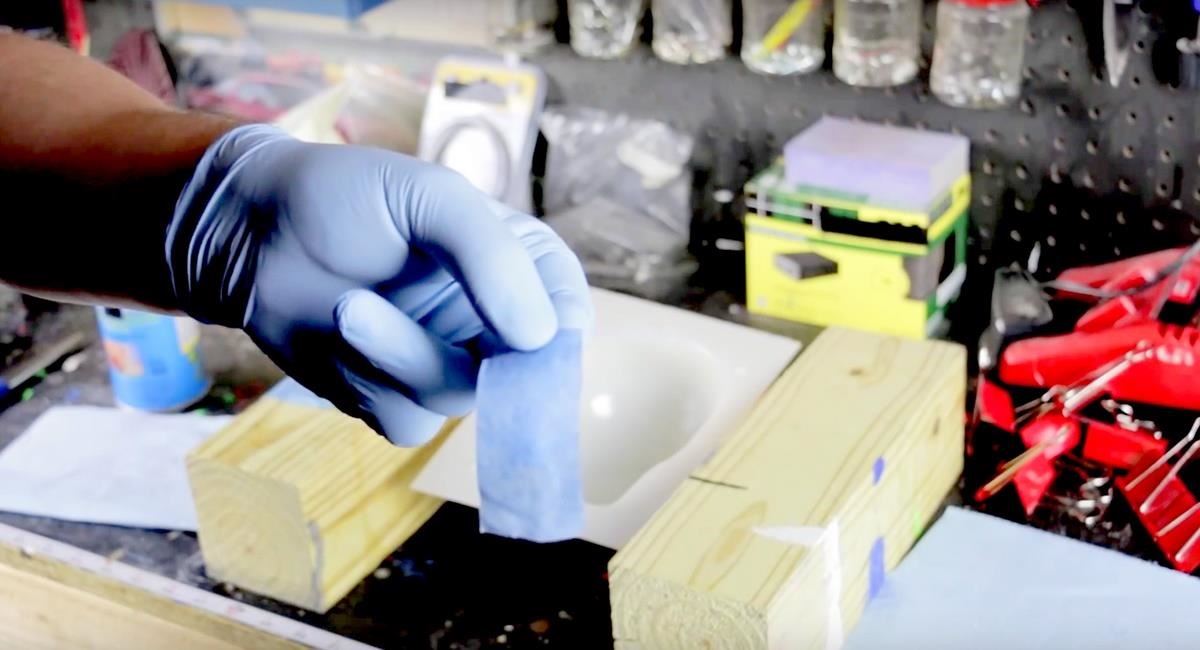
What's going on: These paper towel strips will be layered with the foam. The reason being is that the foam will need the moisture to both expand and cure faster. As The Family Handyman explains in regards to installing foam insulation in a home, "Be careful, though; you want to dampen the area, not wet it. Foam won't stick well to a wet surface." The same principle applies here. That's why the strips are dampened, not soaked.
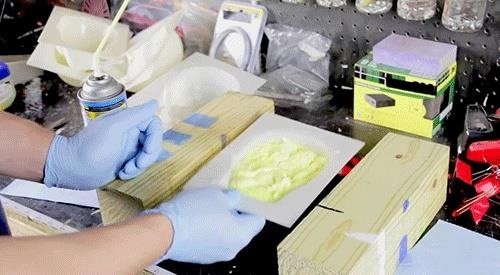
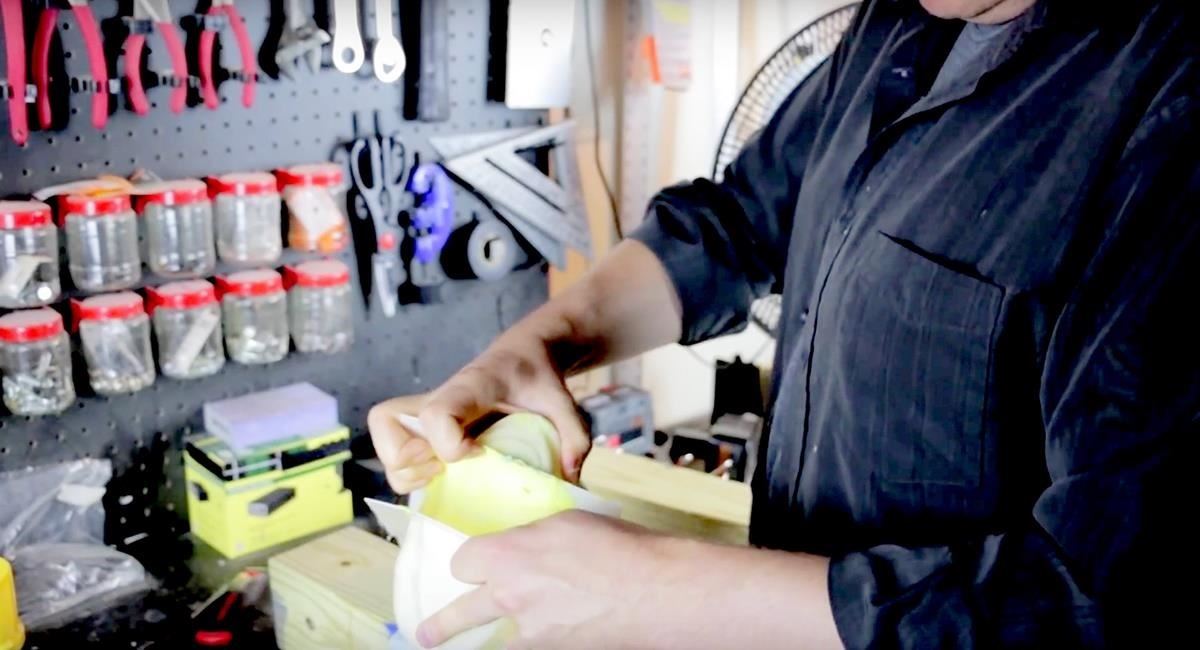
Step 3: Fill Your Skull Mold with Foam
Wearing safety gear, you'll next "build" the prop skull using insulating spray foam. Aim the spray can into your mold and begin dispensing the foam. Go slowly, there's no need to rush. It doesn't take long to fill up one-half of a prop skull. Once you've added a first layer of foam, layer one paper towel strip:
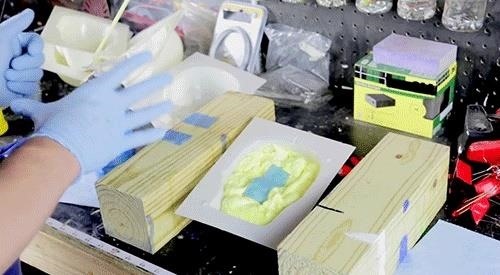
Then, continue to add foam to the mold until it's about two-thirds full. Remember the foam will expand. Once you get to this point, it's important to tap it several times. This will ensure the mold spreads to all the spaces of the skull mold and that you don't lose any detail. Cap it off with another strip of paper towel:
Step 4: Repeat Steps for Other Half
You'll go through each step exactly the same for the other half of the skull mold. Remember to only add the spray foam until the mold is about two-thirds full. Not only will this account for the foam's expansion, but you'll be placing the two halves together for the curing process so you'll want to make sure there's enough room.
Step 5: Put the Skull Mold Together
Once your two halves are ready with 2/3 of foam and two paper towel strips each, you'll carefully press them together, lining them up with their corners.
Next, use the binder clips to secure the mold in place. Given that it will be expanding during the curing process, the mold should be sealed all the way around. You don't want the skull to "pop" during the weeklong wait.
Step 6: Be Patient & Wait a Week
To make sure the mold is correctly cured, you'll need to wait seven days. As Build It With Bigfoot says, this could prove the most difficult part of the project. But just as drkreepy1 advised, don't pop the mold too soon. For a closed mold such as this, it takes about a week for the foam to harden. If you pop it too soon, you could end up with a mess and have to start all over again — and wait even longer.
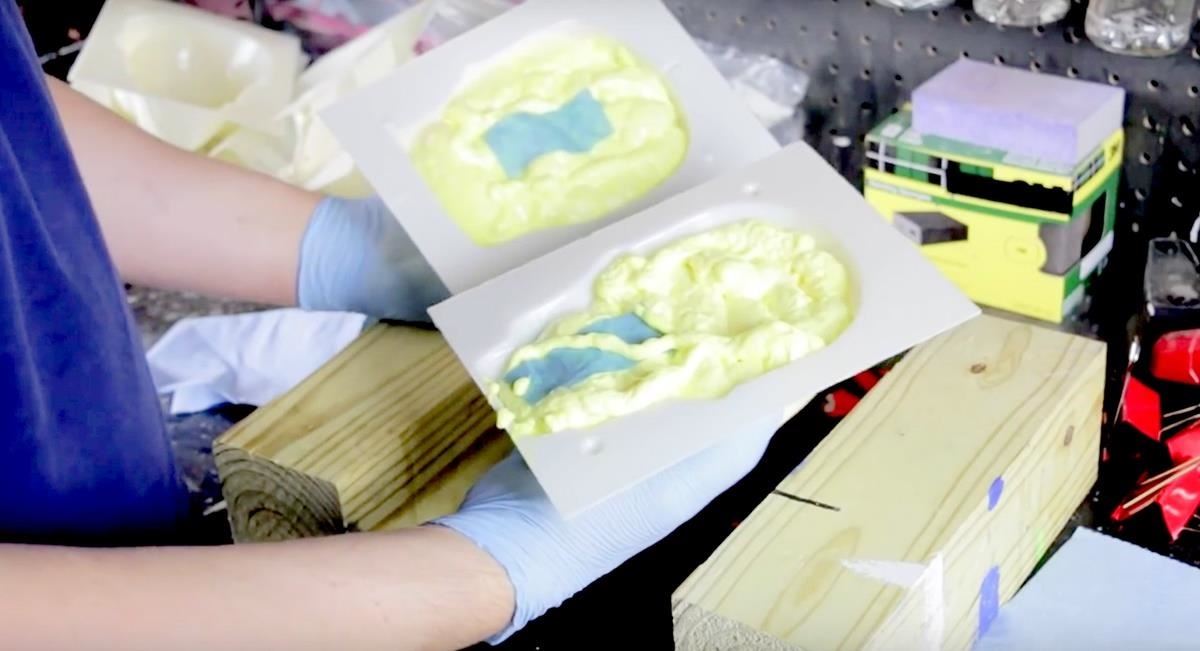
Step 7: Crack Open Your Skull Mold
After a week, you can safely open your mold to reveal your prop skull. Now, this part can also prove difficult as the mold is sealed tight. To crack the mold open, use a metal putty scraper. Wedge the scraper between the two halves of the mold and twist. The twisting action will slowly pry the two halves apart. Note: Take care not to break the mold.
Once you feel the halves have separated enough, you can try again to pull the skull mold apart. Your prop skull should, with the help of the petroleum jelly from step 1, release from its confines.
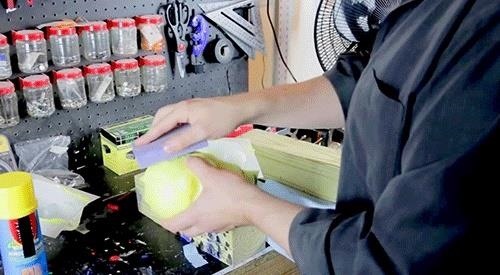
Step 8: Sand, Paint, Finish Your Prop Skull
And now for the artistry. Finish off your prop skull anyway you like. Now hardened, the foam can take sanding, painting, etching, you name it.
A Few Final Notes on Prop Skulls
As you can see, making your own prop skulls is a fun, easy project that's perfect for Halloween, your latest/greatest video, prank, or Shakespearean play. Keep in mind the time it takes to complete a skull: one week. Make sure you give yourself enough time to make as many skulls as you need. Note that you can reuse your mold(s).
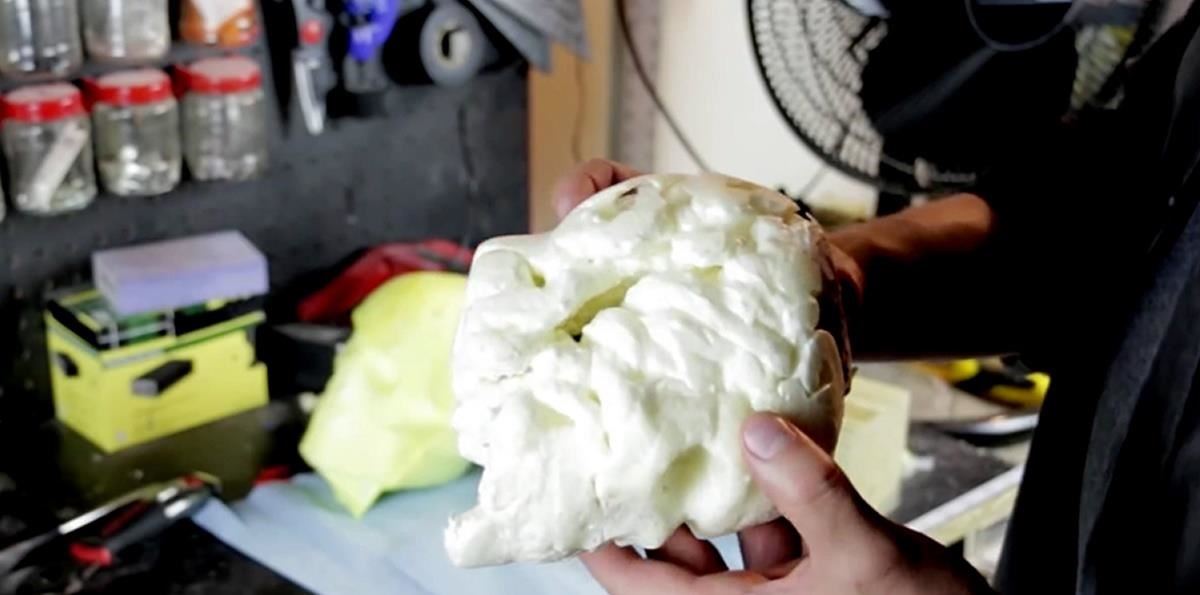
Also, experiment with different types of foam because "different spray foams will yield different results in the molds." Below is one example of a particular spray foam that serendipitously cured twisted ... and pretty creepy-looking, which confirms that when it comes to making skulls, you really can't go wrong.
Check out the full tutorial from Build It Like Bigfoot below and have fun making your own DIY craniums:
Just updated your iPhone? You'll find new emoji, enhanced security, podcast transcripts, Apple Cash virtual numbers, and other useful features. There are even new additions hidden within Safari. Find out what's new and changed on your iPhone with the iOS 17.4 update.


Be the First to Comment
Share Your Thoughts